Here’s How You Paint A Metallic Ceiling
Sam Lutz • February 23, 2016
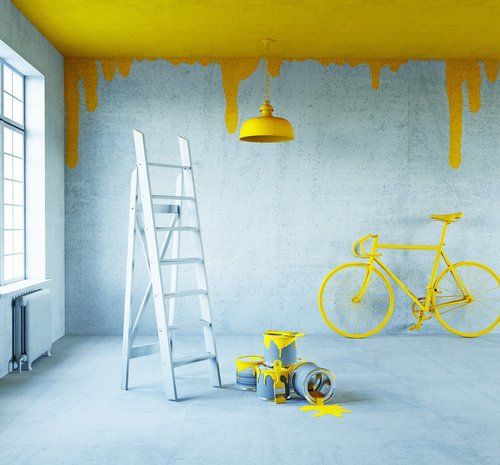
You’ve probably seen white ceilings and colored ceilings. In today’s post, we’re going to explore an alternative option that can add visual interest and drama to your home: metallic ceilings. This project can be done in virtually any room, but we recommend doing it in a formal, public space, like your living room or dining room. This project is especially appropriate in light, bright areas with high ceilings.
Materials
- Painters Tape
- Tarp
- Paint Trays
- Paint Sticks
- Primer
- Paint Roller (Long Handled If Desired)
- Paintbrush
- Metallic Paint
Process
We recommend removing any texture from the ceiling before beginning your painting process, because metallic paint can lose some of its charming reflective qualities when not painted on a smooth surface. If you’re not sure what kind of texture is on the ceilings, then we recommend contacting a professional contractor, because some older popcorn ceilings can contain asbestos. Once the texture has been removed from the ceiling, you’re ready to begin.
- Apply painter’s tape around the perimeter of the area that you’ll be painting. The painters tape will help keep the edges of the ceiling straight.
- Move all furniture out of the room and set up the tarps on the floor.
- Paint the ceiling with primer. Use brushes to paint the edges of the ceiling. Angled brushes will help you reach the corners and the spaces where the wall and ceiling meet. Use a paint roller to apply the primer in the center of the room.
- Wait for the primer to dry. When the primer is no longer tacky to the touch, proceed to the next step.
- Apply the metallic paint over the primer. Use a paintbrush to cover the edges of the room and a roller to apply paint to the middle of the room. After applying the paint to the ceiling, use a flat dry brush to smooth any texture left in the paint.
- Wait for the paint to dry, then apply a second coat, following the steps above.
- Remove the painter’s tape from the edges. Pull off the painter’s tape slowly to reduce the chances that the tape will tear or ruin the edges of the paint.
We did a lot of research when we were writing this post, and we wanted to point out that different people on the Internet handled this project in different ways. For example, in this tutorial, the DIYer painted the metallic square in the center of the room, leaving a white border around the outside of the paint. When this was done, the DIYer installed molding around the metallic square to make it look more fancy. The results are beautiful.
In the video below, the artist applied several different coats to her ceiling, starting with a layer of standard apricot-colored paint. Next, she painted varying shades of metallic paint over the apricot paint, and used a dry brush to smooth the layers together. The overall effect was that of brushed copper.
If you’re thinking about taking on this project for yourself, stop by Ace Paint and Unfinished Furniture. We’ll be happy to help you pick out the right materials, give you painting tips and advice, and we’ll even help you pick the color if you’re undecided.

There are all kinds of wooden furniture: modern, antique and everything in between. We’ve talked about style differences, but what about how it’s made and what it’s made of? Is there a large difference between the wood furniture of today and yesterday?

Colors are so fascinating. They make us feel, they help us express how we feel. The right colors can really set the mood in a room, or on an outfit. There’s a lot to color theory and what each of the colors mean. This St. Patrick’s Day we thought it’d be fun to explore a little about green.

One of the wonderful things about good wood furniture is that it doesn’t have to be merely functional. It can be beautiful as well. We’ve seen some amazing pieces made with wood stains that are more than just furniture, they’re works of art. So if you’ve got an old table, desk or other piece of wood furniture that needs jazzed up, why don’t you consider using some of our great stains to try one of these ideas.

What's your furniture style? Here’s a few of the more popular styles and the kind of look they give your home.

Wood is our most basic raw material used for creating furniture. Wood furniture is timeless, and the aesthetic options are endless. Let’s talk about a few today, shall we?

The 2010s saw an uptick in modern interiors, bringing in clean lines to decor and furniture, so what does the new decade have in store? Restyle your home for the new year with the latest trends.

Are they bright and bold? Wild and wacky? It’s a thrill for our industry to learn what the latest “in” colors will be each year, and they never disappoint. The color trends for 2020 include shades of green, blue and pink, and each have an inherent welcoming quality.

Holiday parties are part of the magic of the season, but the cleanup is a pain—especially when furniture is involved. Prevent disasters with a few tips on how to protect your furniture during holiday parties.

The holiday season has arrived, and soon every corner will be decked out in red and green. But have you ever stopped to think about what holiday colors mean?

Restaining an old piece of furniture with a new varnish color can go a long way, but first you need to remove the old stain color.