How To Paint A Tremendous Toy Box
Sam Lutz • December 15, 2015
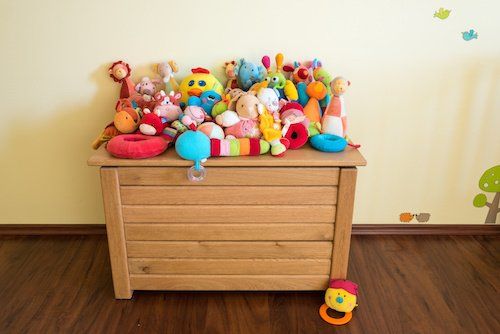
With Christmas approaching, this is the perfect time of year to paint a toy box. Not only do toy boxes make precious gifts, but your child may be in need of a new toy box after December 25th. In this post, we’ll cover how to paint a tremendous, beautiful toy box that your child will treasure for years to come
Start with a Plan
The difference between a nice toy box and tremendous toy box is a plan to make it special. For example, this is a wonderful tutorial
that shows you how to make toy box that looks like a barn. It’s a creative idea and would probably delight many children. It goes well beyond the normal toy box construction. It’s tremendous.
So before you get started with the painting process, you’ll need to come up with a plan. Will you paint a design on the toy box? Will you stencil the name of the child or children who will use it? Will you use metallic paints or maybe attach a seat to the top
or do a photo-to-wood transfer? (And, by the way, a photo-to-wood transfer would impress your child if you decided to go that route, but you’d want to practice your technique before doing it on the toy box. Trust us.)
If you’re not sure what you can do to make your toy box special for your loved one, take a look at these toy box ideas
for inspiration. Once you have your idea in mind, move on to the painting tutorial we posted below. You may need to adjust some of the methods and steps to match with your plan, whatever that plan may be.
Get Started Painting
Materials:
- Sand Paper
- Microfiber Cloth
- Tarp
- Painter’s Tape
- Plastic
- Screw Driver
- Plastic Baggie
- Paint
- Paint Brushes (Unless You Plan to Use Spray Paint)
- Sand down the exterior of the box. Don’t sand any parts of the toy box that you don’t plan to paint.
- Wipe down the toy box with a damp microfiber cloth. Wait for the box to dry before proceeding.
- Move the toy box to a well ventilated area (this is especially important if you plan to use spray paint) and place it on a tarp.
- Mask off any parts of the toy box that you don’t want to be painted, or that you plan to paint later. If large areas of the toy box won’t be painted, cover those areas with plastic. Use painter’s tape to mask and attach the plastic to the toy box.
- Use a screw driver to remove the hardware from the toy box. Put the hardware in a baggie to keep it safe while you’re painting.
- Paint the toy box. If you plan to paint the inside as well as the outside, start with the interior, then wait for the paint to dry.
- Lightly sand the paint and then wipe away the sanded shavings with a microfiber cloth.
- Apply a second coat of paint. Wait for that coat of paint to dry before moving to the exterior of the toy box.
- Paint the exterior and wait for it to dry.
- Lightly sand the exterior, then wipe up the shavings with a microfiber cloth.
- Apply a second coat to the exterior.
- Re-attach the hardware.
Stop By Our Place for Materials
Stop by Ace Paint and Unfinished Furniture
for your paint, tarps and other materials. You can also come in for advice. We’ll be happy to help you devise a plan to make your toy box extraordinary.

There are all kinds of wooden furniture: modern, antique and everything in between. We’ve talked about style differences, but what about how it’s made and what it’s made of? Is there a large difference between the wood furniture of today and yesterday?

Colors are so fascinating. They make us feel, they help us express how we feel. The right colors can really set the mood in a room, or on an outfit. There’s a lot to color theory and what each of the colors mean. This St. Patrick’s Day we thought it’d be fun to explore a little about green.

One of the wonderful things about good wood furniture is that it doesn’t have to be merely functional. It can be beautiful as well. We’ve seen some amazing pieces made with wood stains that are more than just furniture, they’re works of art. So if you’ve got an old table, desk or other piece of wood furniture that needs jazzed up, why don’t you consider using some of our great stains to try one of these ideas.

What's your furniture style? Here’s a few of the more popular styles and the kind of look they give your home.

Wood is our most basic raw material used for creating furniture. Wood furniture is timeless, and the aesthetic options are endless. Let’s talk about a few today, shall we?

The 2010s saw an uptick in modern interiors, bringing in clean lines to decor and furniture, so what does the new decade have in store? Restyle your home for the new year with the latest trends.

Are they bright and bold? Wild and wacky? It’s a thrill for our industry to learn what the latest “in” colors will be each year, and they never disappoint. The color trends for 2020 include shades of green, blue and pink, and each have an inherent welcoming quality.

Holiday parties are part of the magic of the season, but the cleanup is a pain—especially when furniture is involved. Prevent disasters with a few tips on how to protect your furniture during holiday parties.

The holiday season has arrived, and soon every corner will be decked out in red and green. But have you ever stopped to think about what holiday colors mean?

Restaining an old piece of furniture with a new varnish color can go a long way, but first you need to remove the old stain color.