How to Paint Your Ceiling
Sam Lutz • November 4, 2019

So, you’ve painted your living room...But what about the ceiling? This is frequently a project of its own. Follow along with our tips on how to paint your ceiling for a finished project that rivals the pros.
Prep
Every paint project begins with thorough preparation to do the job right. From purchasing appropriate equipment and paints, to preparing the room, your end result relies on adequate planning.
Paint Products
There’s a difference between standard interior wall paint and ceiling paint. Look for latex ceiling paint, as it spatters less and has a longer drying time, allowing you to avoid lap marks in your paint job. 2-in-1 primer + paint
will allow you to avoid having to prime the surface first. If this isn’t available, pick up a ceiling primer in a similar color to the paint you’ll be using (flat white is common, but bright colors provide the illusion of space).
Equipment
A trip to the hardware store for paint will include picking up a few things. For easy application, get an angled paint brush
and a few roller covers. Don’t have an extension pole? Make do with a broom handle or buy a metal telescoping pole. Other tools you may already have include painter’s tape, roller handles, paint trays and a step ladder.
Room Prep
You’re almost ready to start painting your ceiling. For prep tips, turn to our article, Interior Home Painting Mistakes to Avoid. A few other must-dos include:
- Patch Cracks or Holes - If the ceiling has imperfections, paint will highlight them. Do some spackling to smooth the surface.
- Protect Furniture and Fixtures - Remove furniture from the room if possible, and cover fixtures with bags.
- Place Equipment Nearby - Avoid going on a scavenger hunt for equipment by making sure everything you need is already in the room.
Paint
It’s time to get down to brass tax: the paint job. Consider wearing a pair of goggles to guard against paint spatter, and get to work.
Priming
Not able to purchase a 2-in-1 paint? Ensuring that your painter’s tape is in place to protect the surrounding walls, apply primer to the ceiling using a roller on an extension pole and let dry. Primer provides a stain guard to the surface.
Paint Process
Knowing how to paint your ceiling means using the right techniques, from cutting in with a brush to application with a roller.
- Cut In - Using the angled brush, cut in the paint from the corner and ceiling edge. Start just over the painter’s tape and inward to the ceiling, establishing a 2-3 inch wide buffer area. This will help you avoid forcing your roller into crevices for full coverage. The line should be 3-4 feet long along one wall and its adjoining wall, creating a section to paint with the roller. Repeat this step for each section you paint.
- Roll On - While the cut-in paint is still wet, coat your roller with paint from the tray and begin applying it. Maintain relatively straight lines, using a slight zigzag here and there. This will create some feathering (which prevents lap marks), as you can pick up the next stroke from the fully-saturated coating (keeping a “wet edge”) and into these lightly-painted areas. Push the roller away from yourself, and roll back to smooth it out. Repeat the process on the adjoining wall, as well as each painted section.
Trust Ace for Paint Product and Tools
Who knew painting a ceiling was hard work? From brushes and rollers, to primer and paint, trust Ace for the best tools
for your project. Visit our South Hills locations
today.
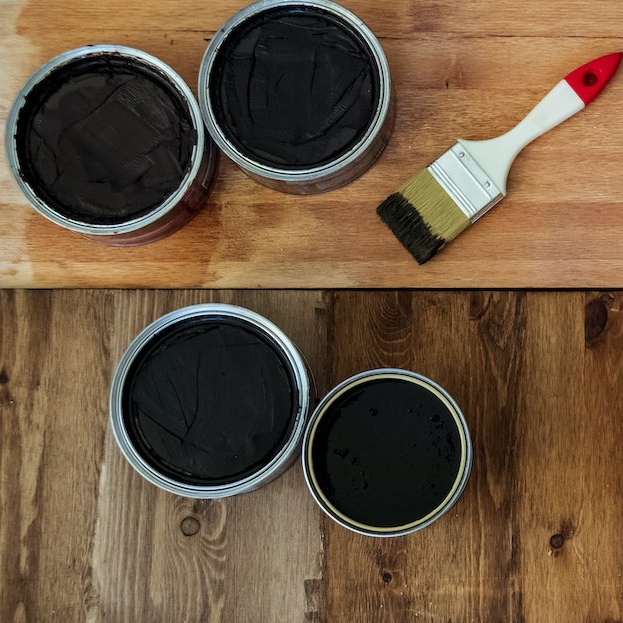
One of the wonderful things about good wood furniture is that it doesn’t have to be merely functional. It can be beautiful as well. We’ve seen some amazing pieces made with wood stains that are more than just furniture, they’re works of art. So if you’ve got an old table, desk or other piece of wood furniture that needs jazzed up, why don’t you consider using some of our great stains to try one of these ideas.

