Summer Style – DIY Paint Can Planters
Sam Lutz • June 20, 2017
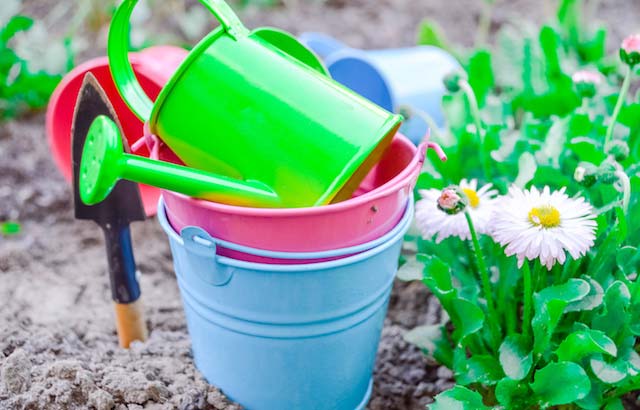
Paint cans are great for holding paint, but when that paint has been used up, the can continues to be useful. In this post we’ll talk about just one of the many things you can do with an old, cleaned out can of paint: use it as a planter! Paint cans are the perfect size for planters. They also have a craftsy/rustic quality that, when decorated, looks great inside and outside the home.
Materials
Gather your materials before getting started with this project.
- Paint can that has been cleaned out. Ideally, all the old paint inside the can will be removed. Paint cans that still have paint inside of them should not be used for vegetable plants, herbs and other plants that produce edible parts.
- Glue-removing cleaner (like Goo Gone).
- Rag.
- Spray paint. Use exterior-grade spray paint if the planter will be used outside.
- Tarp.
- Stencils (optional).
- Painter’s tape.
- Drill.
Process
When you’ve gathered your materials, follow this procedure to turn your paint can into a fabulous, cute DIY planter. If completing this project with children, parental guidance is required and some steps (like drilling) should be done by an adult.
- Remove the label on the paint can and use the glue-removing cleaner to remove any glue from the outside of the can.
- Rinse the cleaner off of the can and dry the can fully with a rag.
- Decide what kind of pattern you would like to use on the paint can. Remember that stripes can easily be made with painter’s tape.
- Paint the can with a base coat of paint. Turn the can upside down on a tarp to avoid painting the inside of the paint can.
- Allow the paint to fully dry on the paint can. The paint will appear shiny when it’s still wet. If you’re not sure how long the paint will take to dry, check the manufacturer’s instructions for drying time.
- If you plan to paint stripes on the paint can, outline the edges of the stripes in painter’s tape.
- Fill in the stripes on the can with spray paint. Wait for the paint to dry.
- Remove the painter’s tape from the paint can.
- If stencils are desired, affix stencils to the paint can, then paint in the stencils with spray paint.
- Wait for the paint to dry, then remove the stencils from the paint can.
- Turn the paint can upside down on the tarp, then use a drill to make several holes in the bottom of the paint can. This will enable water to drain out of the bottom of the can when the plants are watered.
Once the can has been painted, the paint has dried and the holes have been drilled through the bottom of the paint can, the can itself can be used to hold plants. Fill the can with dirt and plant the desired flowers or plants in the can. Put the can on a plate to catch the water that leaks out the bottom.
Stop In At Ace Paint and Unfinished Furniture!
At Ace Paint and Unfinished Furniture we have all the paint supplies you need to turn your old paint cans into flower pots. To pick up spray paint and other paint supplies, stop in at one of our convenient locations today.
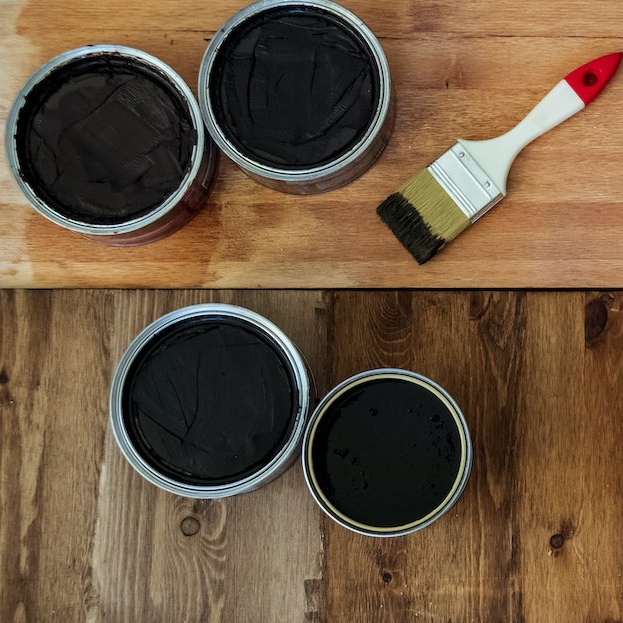
One of the wonderful things about good wood furniture is that it doesn’t have to be merely functional. It can be beautiful as well. We’ve seen some amazing pieces made with wood stains that are more than just furniture, they’re works of art. So if you’ve got an old table, desk or other piece of wood furniture that needs jazzed up, why don’t you consider using some of our great stains to try one of these ideas.

